Website Photo Basics: Tips for a Beautiful and Functional Site

Whether you have booked a brand photoshoot with a professional photographer or are pulling together high quality stock images, your website photos are one of the most powerful tools you have to shape how people see your brand. The right images do more than look pretty – they help your site load quickly, improve search engine rankings, and guide visitors toward taking action. Think of them as both the face and the backbone of your online presence. In this guide, you will learn how to select, prepare, and optimize photos so your site is both visually stunning and highly functional.
Image Sizes
Having the right size images is about striking a balance between quality and performance. Banner images work best at 1900px wide, while most other images should be at least 1400px wide but no larger than 2000px. Stick to 72 DPI for the web. Always start with images that are large enough to look crisp because you can scale them down as needed but you cannot make a small image larger without sacrificing quality.
Image Variation
A website feels more alive and engaging when you have a variety of images to work with. Even after a professional photoshoot, it is common to find that you do not have quite enough variety for every page and situation. Think beyond the obvious portraits or product shots and include detail images that help tell your brand story, such as your workspace, the tools you use, or small personal touches like your favorite coffee mug. Stock photography can also fill in the gaps, but choose images that match your own photos in editing style and tone. For free options, Unsplash is excellent, and for paid, Stocksy offers beautiful and unique images worth investing in.
Banner Images
Your banner images are the first impression visitors get when they land on your site, so they need to work on every screen from a small smartphone to a giant desktop monitor. The safest choice is a wide, short image in a 16:9 ratio because it adapts smoothly to different devices. If you are adding text over a banner, look for images with some open space where the words can sit without competing with the subject. When your banner includes a person, position them slightly off center and avoid placing them too close to the camera. This not only looks better but also leaves you room to adjust the layout later without losing the impact of the photo.
Product Images
If you sell products online, think of your photography as one of your most powerful sales tools. Start by creating a clean, consistent backdrop that lets your product stand out, and aim for lighting that is soft and even so you avoid harsh shadows or blown out highlights. Show your product in more than one way, a simple shot on a white background can be great for clarity, while lifestyle images that show the item in use help potential customers imagine it as their own. Give each product a little breathing room in the frame, keep sizes consistent across your store, and whenever possible, provide a sense of scale so shoppers know exactly what to expect. And if photography is not something you love or feel confident about, consider working with a professional, because great photos can make the difference between someone browsing and someone buying.
Image Optimization
A beautiful image will not help if it slows your site down. Large files can frustrate visitors and hurt your search rankings, so taking the time to optimize your images is one of the smartest things you can do. If you are on WordPress, Imagify is a fantastic plugin that will compress and resize your photos automatically when you upload them, and it even lets you bulk optimize images you have already added. This is the plugin we use and provide for all Alchemy + Aim web design clients. If you are not using WordPress, TinyPNG is a simple free tool that works beautifully for quick compression before you upload. No matter which tool you use, make it a habit to compress your images first, choose the right file type (JPG for photos, PNG for graphics with transparency, WebP for faster load times when supported). When possible aim to keep images under 500KB and other images under 300KB.
Other Image Tips
The file names of your images might seem unimportant, but they help search engines understand what your site is about. Use descriptive names that include relevant keywords, your business name, and location when appropriate. Always use hyphens instead of underscores because search engines read hyphens as spaces.
For example, a strong file name would be alchemy-and-aim-website-services.jpg instead of image001.jpg.
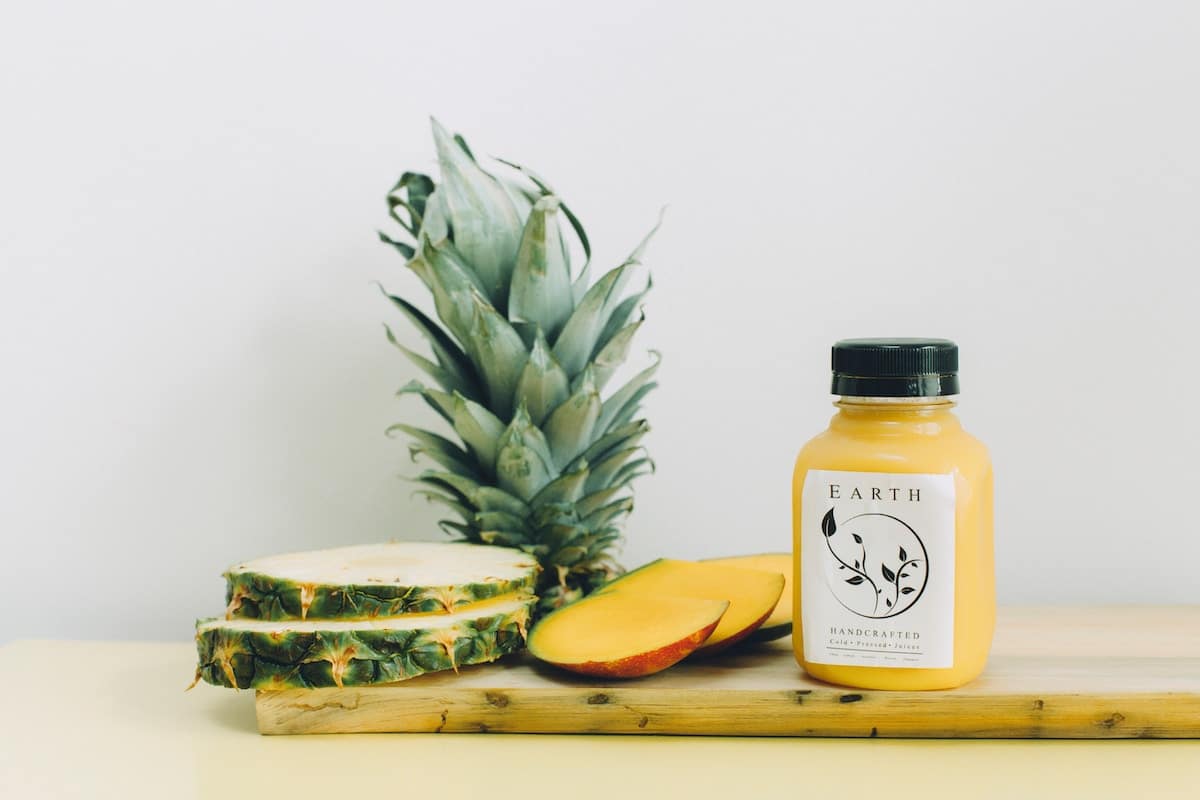
In addition to file names, adding clear, keyword rich ALT text is an easy way to improve SEO and accessibility at the same time. ALT text should briefly describe the content of the image in a way that makes sense to both search engines and screen readers. This helps people using assistive technology understand your content while also giving search engines more context about your page. For example, the featured image for this post might have ALT text such as “Website Photo Basics: a well staged photo of juice and a sliced pineapple”.
If you want your website photos to truly support your goals, think about them as both art and strategy. The right combination of style, size, and optimization will keep your site looking beautiful, loading quickly, and performing at its best.
And if you need help choosing or preparing your images, do not hesitate to contact us and we will be happy to point you in the right direction.
